How To Make a Soundbar Turn On With the TV
Ideally, a soundbar should automatically turn on with the TV after installation and setup, but the reality is somewhat different. You may have a problem with the connections, installation, and setup, or it could be in the default settings of your soundbar or your TV.
Here’s how you can make a soundbar turn on with the TV:
- Activate the auto-wake feature.
- Automate power sync using HDMI (ARC/CEC).
- Use the auto power link.
- Turn on the D.IN mode.
- Switch TV audio output to soundbar.
Some soundbars automatically sync when you connect them properly and switch the audio output to the chosen device.
A few brands have specific instructions, such as using a feature in the TV settings, a particular button on the remote, or an option in the app. Keep reading to find out how you can turn your soundbar on with the TV.
Also read: How To Make a Soundbar Louder (Guide)
How To Make a Soundbar Turn On With the TV
Here’s how you can make a soundbar turn on with the TV:
1. Activate the Auto-Wake Feature
Soundbars with an auto-wake function typically come with this feature activated by default as a standard factory setting. Otherwise, you can activate it manually.
Let’s use the example of a Bose soundbar.
You can press the power button on the Bose soundbar remote and hold it for around five seconds. You’ll hear a tone as the soundbar light blinks.
If you hear a rising tone, then the auto-wake function is active. If the tone is a diminishing sound, then the feature is turned off.
Check your soundbar user manual to look for similar or different instructions to activate auto-wake.
2. Automate Power Sync Using HDMI (ARC/CEC)
After connecting the soundbar using the HDMI (ARC) port, you must go to the TV settings and check if the CEC (Consumer Electronics Control) mode is enabled.
HDMI CEC is usually enabled by default, and it automates the power sync. It lets you turn both the devices on and off simultaneously. Also, you can use the TV remote to control the volume of the soundbar.
3. Use the Auto Power Link
You need to use an auto power link to sync a soundbar connected with a TV through an optical digital audio cable. To use the auto power link:
- Ensure the cable is plugged into the correct ports: optical in on the soundbar and optical out on the TV.
- Connect them properly without the protective caps.
- Ensure the power is on for both devices.
- Press the Source button on the soundbar or its remote to activate the D.IN (Digital Input) mode.
- Press the button with the left direction symbol on the remote and hold it for around five seconds.
An auto power link will show up on display. Activate it if it’s deactivated by default or due to an error.
4. Turn On the D.IN Mode
For both HDMI and optical connections, a soundbar and a TV will only sync and work together when the D.IN mode is on. In the case of HDMI connections, activating the D.IN mode syncs the two devices, and you can turn both on/off using the same remote button.
For HDMI connections, if you’ve enabled the CEC mode per the second step in this guide, press the source button on the soundbar or its remote, and the D.IN will automatically change to the TV ARC.
If you’ve activated the auto power link per the third step, you’ve already turned on the D.IN mode.
You can disable and enable auto-wake, power-sync, D.IN, and CEC modes and disconnect paired devices when needed.
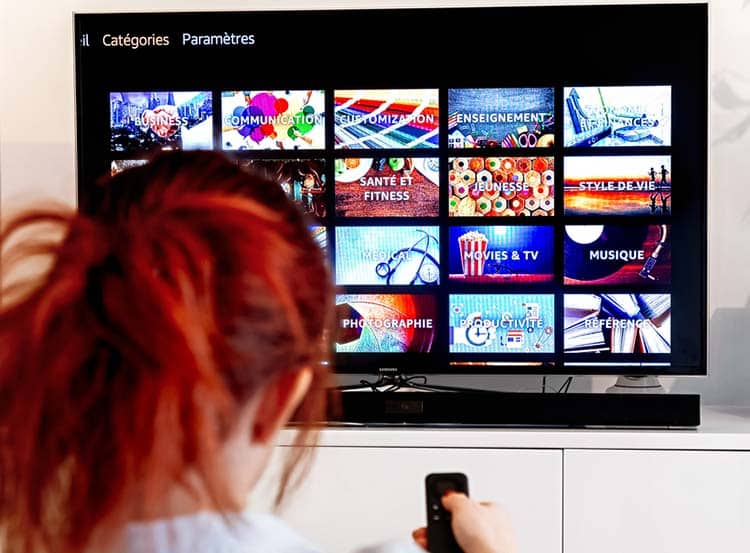
5. Switch TV Audio Output to Soundbar
Some users do forget to switch the audio output in the TV settings to the soundbar. You’ll continue to have audio output through the TV, and the synced turn on/off may not work. Use all the steps in this guide applicable in your case as checkboxes for an effortless troubleshoot.
Recheck the Installation and Setup
Contemporary soundbars and televisions of the same brand are likely to sync effortlessly. All major manufacturers have dedicated features to connect and control HDMI-enabled compatible devices.
Typical examples are Bravia Sync (Sony), Anynet+ (Samsung), Simplink (LG), Viera Link (Panasonic), and EasyLink (Philips).
Complications typically arise when you try to sync products of different companies. These issues are mainly due to the multiple ways you can install and set up the two devices. For instance, soundbars may be connected with a TV using HDMI, optical digital cable, and, in rare cases, analog audio cable.
Some setups may involve an HDMI port and an optical digital audio cable if the TV isn’t compatible with Audio Return Channel (ARC).
A standard TV HDMI port isn’t necessarily ARC compatible. You can look at the ports on your TV and soundbar to check for ARC or eARC labels. The eARC label is for Enhanced Audio Return Channel.
If the TV and soundbar have ARC/eARC compatible ports and you’ve used an HDMI 1.4 cable or a more recent standard, then syncing the two devices should be as simple as powering them up and switching the TV audio output to the soundbar.
If the two devices don’t turn on simultaneously, except for a moment’s lag, then the troubleshooting steps in this guide should solve the problem.
Most TV and soundbar manufacturers have distinct quirks. For example, a task as simple as resetting a soundbar requires different approaches depending on the model. Sony’s HT-S100F needs you to press three buttons simultaneously and hold them for over five seconds.
The same company’s HT-S200F requires you to press and hold only two buttons. Check the user manuals to know if there are such brand-specific instructions for your soundbar and TV.
Conclusion
Most of the latest consumer electronics tend to be user-friendly, but plenty of innovative features can cause complications. In many cases, the solution is an easy intervention or two. Yet, multi-brand and cross-platform setups can pose some teething issues.
Armed with the information you’ve learned, you should be able to overcome any difficulties that arise in setting up your soundbar. Happy listening!