5 Ways To Connect a Soundbar to TV Without HDMI or Optical
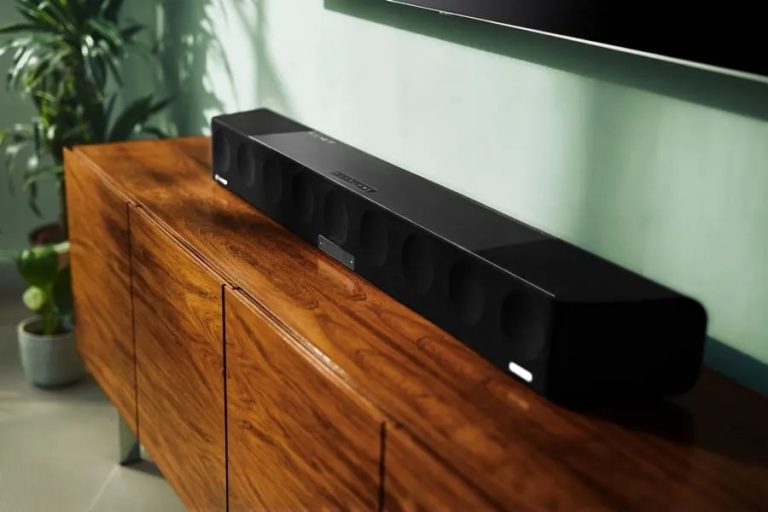
A soundbar is the best way to enjoy high-quality sound without spending money on receivers and speakers. However, it often requires an HDMI or an optical connection. If your old TV doesn’t have any of these, fret not, for there are many workarounds.
Here are 5 ways to connect a soundbar to TV without an HDMI or optical connection:
- Go wireless
- Use a 3.5 mm AUX cable
- Connect with an RCA cable
- Link the devices with the help of a VCR player or DVD player.
- Use an HDMI splitter.
Read on below to learn more on how you can bypass the need for an HDMI or optical connection for your soundbar.
Also read: Soundbar Above or Below TV? Which Option is Ideal?
How To Connect a Soundbar to TV Without HDMI or Optical
No HDMI or optical connection? No problem! With these hacks, you can still connect your soundbar to your TV for a rich audio experience.
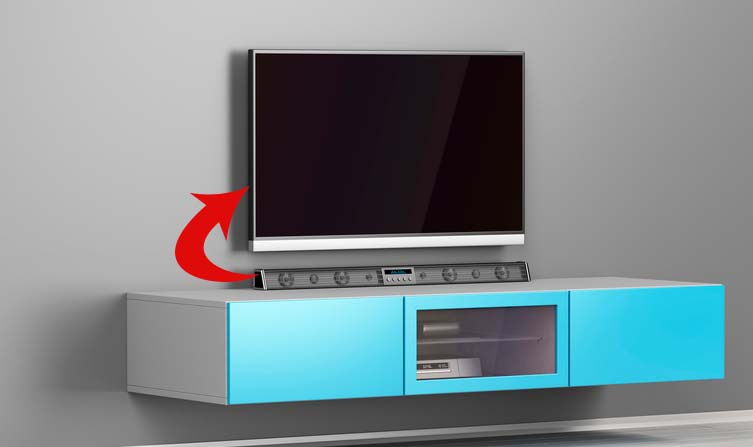
1. Go Wireless
Don’t like wires? Then the best thing you could do is to go wireless.
Your TV, however, should be able to meet some specifications.
For one, it should be produced after 2013.
Alternatively, it should come with either an RCA or auxiliary jack connection. You can use any of these to establish a Bluetooth connection.
Bluetooth
Bluetooth is the best way to go since many TVs are equipped with this feature. It auto-connects your devices. As such, there’s no need for you to link them every time you want to use them.
Here’s how you can pair your devices via Bluetooth:
- Set your soundbar to discoverable mode: Here’s how you could do this according to the most common brands:
- Vizio: Press the Bluetooth button on the soundbar or remote for five seconds. Once discoverable, you’ll see the soundbar’s LED lights flashing.
- Bose: Press the Bluetooth button until the LED light becomes blue.
- TaoTronics: Press on the remote’s Bluetooth button.
- Turn on your TV’s Bluetooth feature: This is usually categorized under General Setting.
- Pair and connect your TV with your Soundbar device: This will synchronize both for future use.
- Check your Soundbar: Your TV’s name should pop on display. Likewise, you should be hearing the sounds coming from your TV.
If the pairing continues to fail, check if there’s an HDMI cable connected to the soundbar. The TV won’t connect to Bluetooth if the cable is plugged into your device.
The downside to Bluetooth, however, is that it only has a max speed of 3 Mbps. Expectedly, lag time is often expected with this connection.
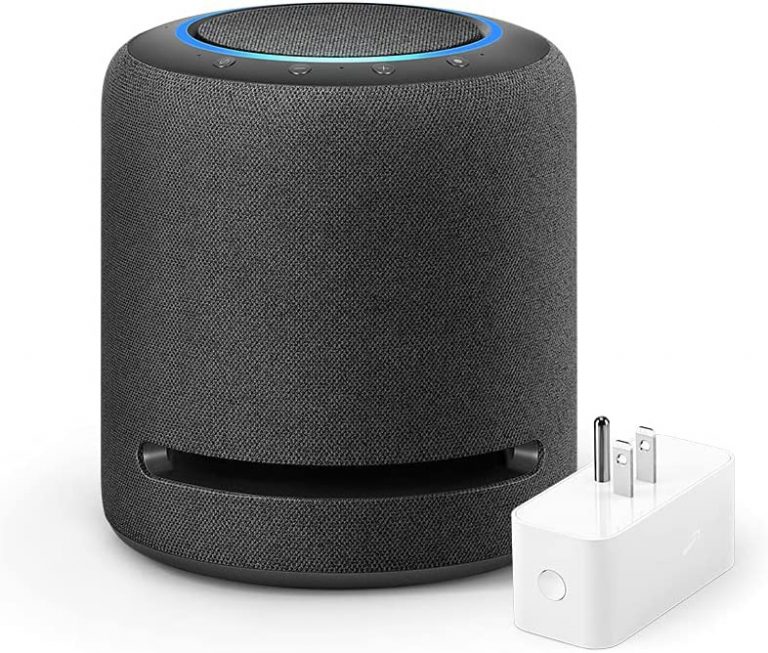
If your TV or soundbar isn’t Bluetooth-compatible, know that there’s a workaround for this. All you need to do is buy an adapter, such as the Trond Bluetooth Transmitter-Receiver on Amazon.com. Connect this with your 3.5 mm (0.13 in) cable – and voila – your device is now Bluetooth-ready.
WiFi
While this isn’t a common option, it can create a wireless connection for your TV and soundbar.
WiFi works with the transmitter sending audio signals over the internet. The receiver, on the other hand, will convert the signals as audio output.
One of the best things about WiFi is its more comprehensive range. Bluetooth, for one, can only go a max of 30 feet (9.14 m).
WiFi is also faster, with speeds ranging from 54 to 1300 Mbps. Additionally, it allows you to connect multiple Sound Bars as well.
Establishing a WiFi connection is relatively easy as well. If you’re using a Samsung TV, for example, you can connect it to your soundbar by following these steps:
- Press the source button behind your soundbar: You can also click on the source button on the remote control.
- Connect the soundbar to your TV’s WiFi connection: They should be using the same WiFi network for this to work.
- Download and open the SmartThings app on your smartphone. Note: if your soundbar was released before 2017, use the Multiroom app instead.
- Click on the Add: (+) icon.
- Select Device: This is the first option you’ll see on the app.
- Click on AV: Choose your soundbar’s brand.
- Tap start: Click on the location and the room. This will prod your phone to search for the soundbar.
Remember: It’s normal for the TV to disconnect from WiFi once it’s connected to the soundbar.
That said, you can connect your TV again through the menu.
Depending on your TV model, you can see the option under:
- 2014 models: Multiroom Link > Settings
- 2015 models: Speaker List > Select Your Soundbar
- 2016 models: Select Speaker > Select Your Soundbar
- 2017-2019 models: Sound Output > Select Your Soundbar
While a WiFi connection is excellent at producing high-def sounds, the quality will always depend on your internet connection. The faster it is, the better the sounds you’ll hear.
If there are lags or multiple people are using the connection, the sounds won’t be as crisp.
Radio Frequency
Radio frequency is a kind of technology that sends frequency waves that match the receiver.
This wireless conversion kit uses 2.4Ghz for better coverage. Newer models even use frequency hopping to reduce the interference from devices in the same frequency.
Pros of Going Wireless
Still not convinced about going wireless? Here are four reasons that should convince you:
- Lossless Audio Transmission: Wireless connections compress audio without losing any detail from the original recording. Since the sound is transmitted in the airwaves, its quality won’t be affected.
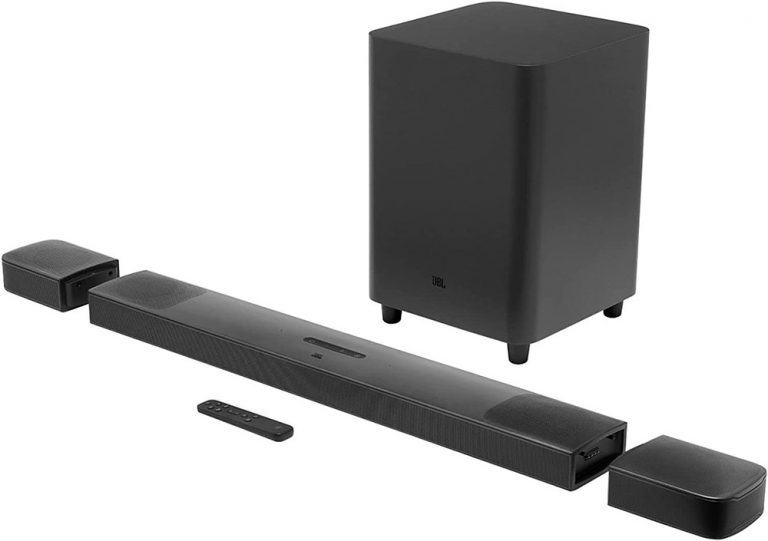
- More Channels to Choose From: A soundbar with two channels is more or less a mini stereo. So if you’re looking for a complete surround sound experience, it’s best to go with a 3-channel soundbar. If your TV doesn’t have HDMI or optical connections, it won’t be able to accommodate the latter. As such, going wireless is a way for you to enjoy a more immersive sound experience.
- All-in-One Audio Connection: Except for the coaxial cable, other connections will allow you to link your soundbar wirelessly. So even if your TV doesn’t have an HDMI or optical connection, you can make it work with a 3.55 mm (0.13 in) jack or an RCA cable.
- Less Clutter: Wires are helpful, but they can clutter up your room quickly. If you’re tired of tripping – or being confused with which is which – then wireless is the way to go.
Cons of Going Wireless
While wireless connections make for a great sound experience, there are some drawbacks to using them:
- Expensive: You get what you pay for with wireless connections. They’re quite costly, but they promise the best surround-sound experience outside of HDMI and optical connections.
- Not Suitable for Larger Spaces: Wireless connections work great, but their range is often limited. Bluetooth, for one, is limited to a distance of 30 feet (9.14 m).
If you have a large theater room, you may have to use any of the wired connections below.
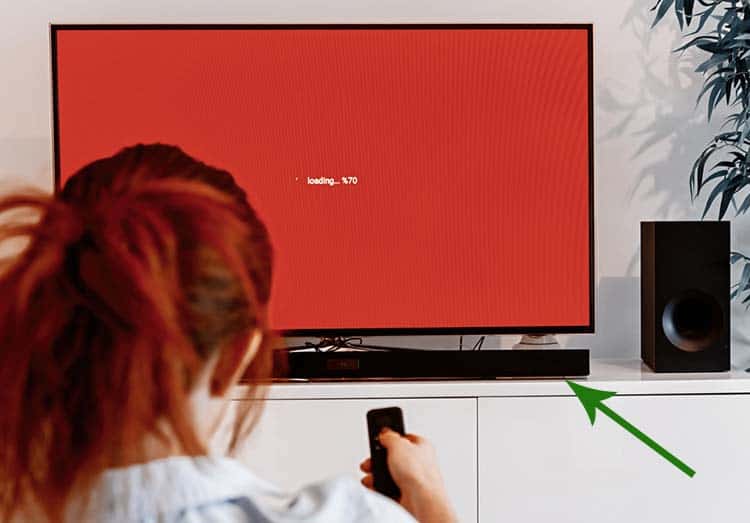
2. Use a 3.55 mm Jack
If your TV doesn’t come with a Bluetooth feature – or if you don’t have money for an adapter – you can still connect your soundbar with a 3.55 mm (0.13 in) aux cable. This cable is similar to what you’d see on your headphones.
Connecting your devices with this is relatively easy. Just plug one end to your TV – and the other one to your soundbar.
If your TV doesn’t have a 3.55 mm (0.13 in) input, you can buy an adapter for this. One good example is the AmazonBasics RCA Adapter Audio Cable. These polished, dual-shielded cables will give you clear sounds with little signal loss.
What To Look For in a 3.55 mm Jack
It pays to invest in the best 3.5 mm (0.13 in) aux cable. To save time – and the efforts you’ve made to connect your TV and soundbar – opt for one made with 99.99% oxygen-free copper wire.
Don’t forget to check the shield, which should be a low-loss 95% spiral copper.
Nickel or gold-plated connectors will help defend it from corrosion as well.
Downside to Using a 3.55 mm Jack
While a 3.5 mm (0.13 in) audio jack can deliver quality sounds, it can only be used as an output for your stereo.
Since it only delivers sounds to both speakers, you can’t enjoy the benefits of 3.0 (or higher) soundbar channels.
So if you want to immerse yourself in a surround-sound experience, you may have to consider using a wireless connection.
Your other option? Buying a newer TV.
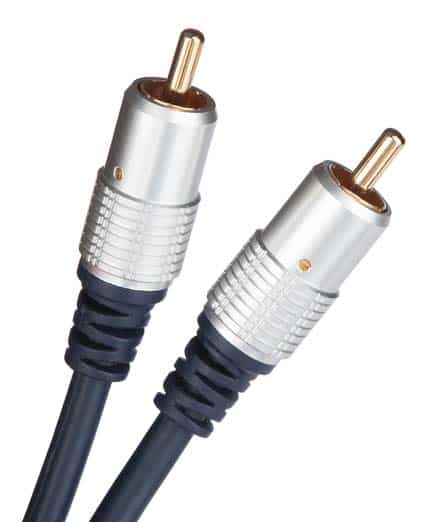
3. Connect With an RCA Cable
If you own an old TV, then there’s a chance that it doesn’t have a 3.55 mm (0.13 in) jack. However, it should have an RCA output that you can use to connect your soundbar and your TV.
If you don’t know what RCA outputs look like, they are white (marked L) and red (marked R).
If your TV only has RCA input, you can still connect it to your soundbar. You could split the signal by adjoining the yellow line to the TV. As for the remaining wires, you should connect them to the soundbar.
What To Look For in an RCA Cable
RCA cables are often made with gold, silver, and copper.
As expected, gold is the most expensive. It’s thicker, so it conducts sound better than silver or copper cables.
It’s also more resistant to corrosion, which means it will last longer than other cables.
To maintain the best sound quality, choose a cable length that’s enough to connect your TV and soundbar. Longer isn’t always better, as this will significantly affect sound quality.
Downside to Connecting an RCA Cable
Like the 3.5 mm (0.13 in) jack, RCA cables can merely convey 2.0 (stereo) audio signals. As such, it can’t give the surround-sound experience that makes 3.0 channels (or higher) popular.
Even if your television bears a 5-channel RCA output, the sound won’t be as crisp as you’d hope it would be. That’s because Sound Bars are only compatible with three channels or higher.
As for some models, they’re only limited to supporting HDMI, optical, or wireless links.
Given these issues, you can create a better audio experience by utilizing an RCA to HDMI adapter. This will help convert the analog RCA composite to HDMI output. It’s plug and play too, so you don’t have to be a techie to use it.
Apart from being easy to use, this adapter will save you from the agony of buying a new TV.
While it’s not true high-def, it produces a quality audio experience.
4. Link the Devices With the Help of a VCR Player or DVD Player
Maybe you own a TV so old that it doesn’t even have an RCA cable. Even if it only has a coaxial connection – one that’s used for cable programming – you can still connect it to your soundbar.
To do so, you’ll need to split the signal with the help of a VCR or DVD player. With this, your TV will end up functioning as a computer monitor.
To do this, you need to:
- Use the remote to switch between sources. That’s because the VCR and DVD players have coaxial and RCA inputs.
- Connect your coaxial cable. Put one end on the television’s input and the other on the VCR/DVD player’s output.
- Link the soundbar with the use of an RCA jack.
In case your VCR/DVD player has a 5-channel connection, you have the option to use the RCA to HDMI adapter stated above.
While effective, this hack – like the other ones – will fail to give you an authentic high-def audio experience.
5. Use an HDMI Splitter
Another option for an RCA-less TV is to use an HDMI splitter. It works by duplicating one HDMI signal.
To do this, you need to connect one end to the HDMI-Coaxial converter. This will send a signal to your TV and the other to your soundbar.
The downside to using a splitter is that it requires an external power source. That means adding another device to your present TV and soundbar set-up.
Final Thoughts
Even if your TV doesn’t have an HDMI or optical connection, there are ingenious ways for you to connect it to your soundbar.
You can go wireless via Bluetooth, WiFi, or Radiofrequency.
You can also use either a 3.5 mm (0.13 in) Aux or RCA cable.
Lastly, you can use a VCR/DVD player or an HDMI splitter to connect your RCA-less TV.